Hello all. The weather out here right now is amazing. I think I need to start a blogging graveyard shift so I can soak up the warm sun during the day. :o)))
Any way, you may have heard that Pantone announced Radiant Orchid as the 2014 color of the year. For those who are wondering what exactly is "Radiant Orchid" it's a shade of purple. :o) I know, color names have come along way since the prehistoric days of red, orange, yellow,green blue and purple lol. And we thought indigo and violet were exotic names ha!
 `
`


 Maintenance is also a breeze. For the velvet sections, I rip off a sheet from my 3M lint roller and rub it across all the velvet and it's back to black. For the rest of the box a light wipe with a slightly damp cloth will do the trick. You don't want to spray or soak it because it might remove the adhesive.


Any way, you may have heard that Pantone announced Radiant Orchid as the 2014 color of the year. For those who are wondering what exactly is "Radiant Orchid" it's a shade of purple. :o) I know, color names have come along way since the prehistoric days of red, orange, yellow,green blue and purple lol. And we thought indigo and violet were exotic names ha!
Back to my point. I was happy to hear they announced that color because I've been really feeling purple these days and wanted to bring more of it in my home. Aside from this quilt, I didn't have any other purple. I also wanted to do something with marble print. When I found this beautiful marble print in shades of purple I thought it would be perfect to use it on an old charging station we had laying around. I could finally bring in a dose of purple and setup one spot for us to charge all our phones. Woohoo! The supplies were just a few. Mod Podge, paint brush, paper slicer, marble prints, pencil.
 `
`
Originally I got this print from PapeirRoyal, at their etsy shop, but not sure if this exact print is still available.
Charging station before.. So drab.

After! SO MUCH character!

First, I laid the print upward and placed the box over it to get an idea of what part of the picture I would be cutting out. I wanted the cutout to be the most interesting part of the art.

Then I flipped the paper and traced precisely around the box. Working one section of the box at a time, I generously, but without glops, covered the box with Mod Podge. I placed the paper over the corresponding section, smoothed out any bubbles and then applied a thin coat of Mod Podge on top of the paper. After the first coat dried, I reapplied three more thin coats letting each application dry in between.

After covering the drawer front I had the surrounding edges to cover as well.


After doing the first section, I realized I should have used a single sheet to cover the side and front at once instead of cutting two separate pieces and trying to seamlessly connect them. So when I did the front of the box I matched up the pattern giving the drawer front and frame around it a cohesive look. I used one sheet on the surface and folded it over the top. This way when I cut out the paper it was easier to glue down one piece covering the front and top surface without gaps.

Final result was cohesive and smooth. To the right and left of the drawer were separate pieces, but because the print matched up it looks like one.
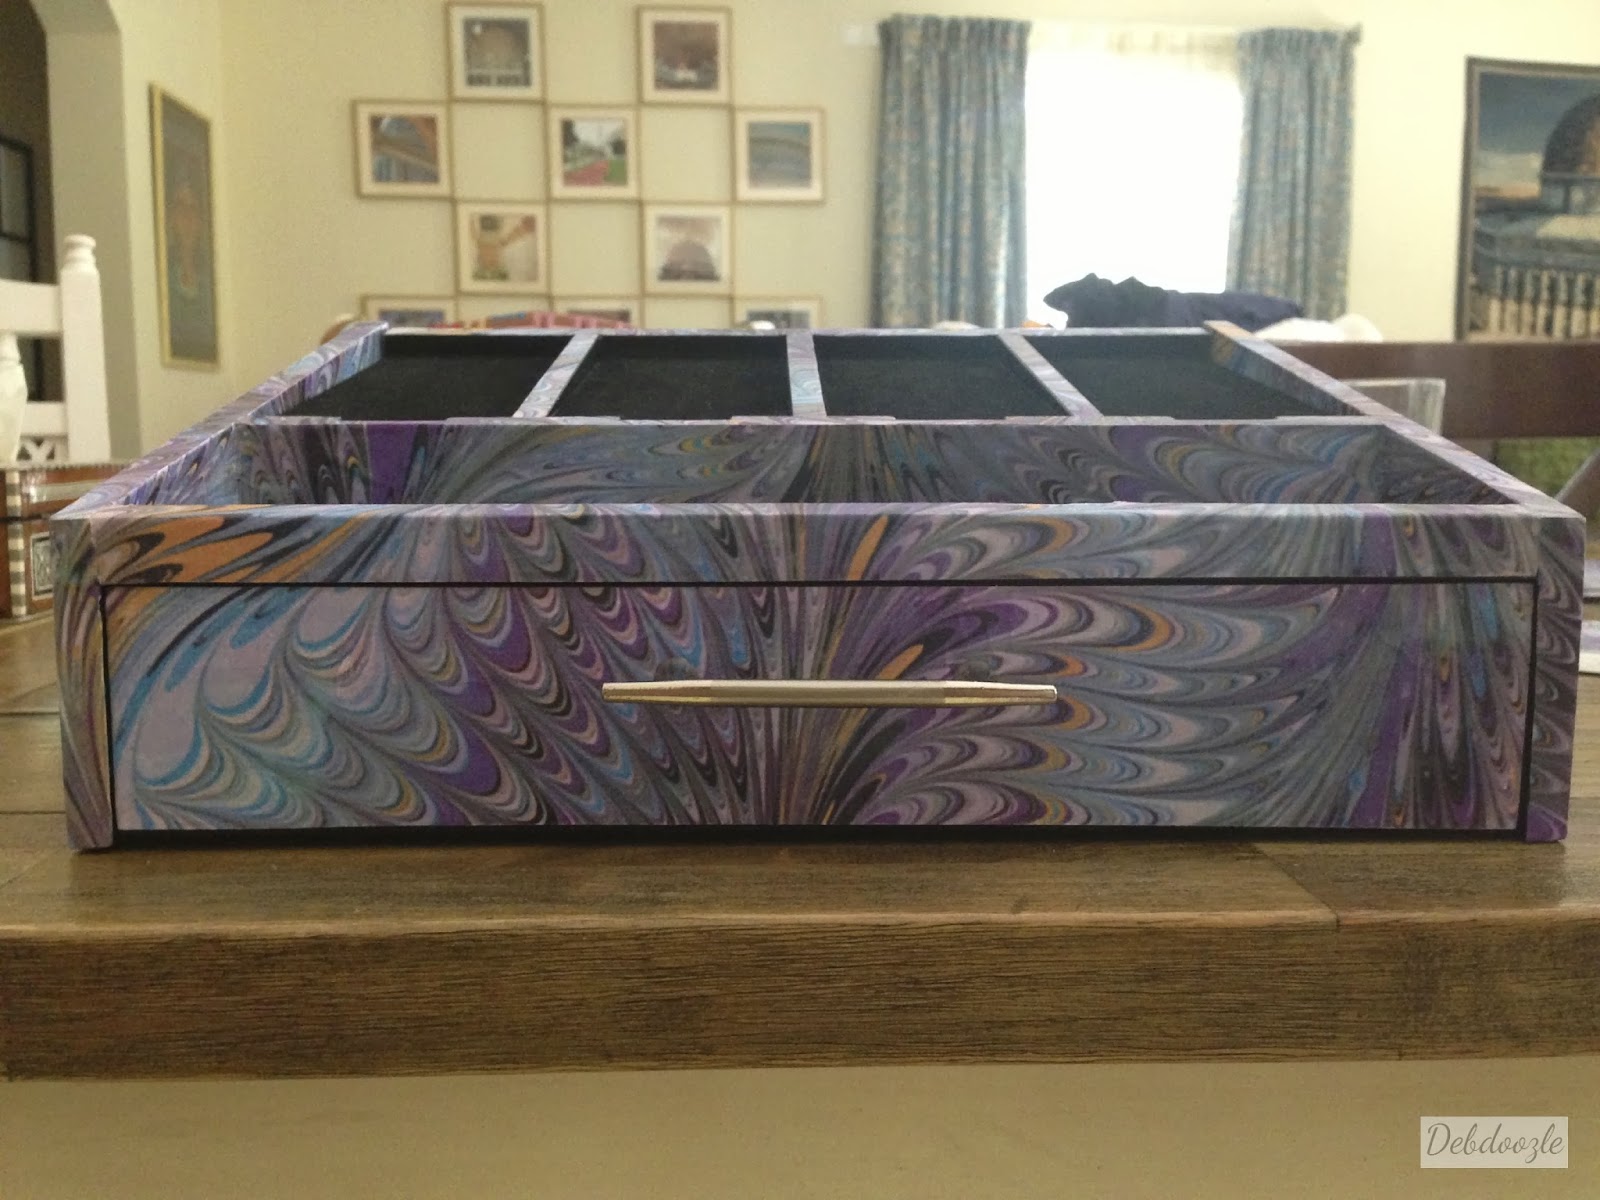

The surface had some open notches for the plugs to pop through. It was surprisingly easy to get a perfect cutout for this section. First I laid my paper over the spot and folded it to get creases with the exact width and length measurement and cut out a perfect strip. Then I took a marker and drew around the notches. I took the strip of paper making sure the strip was placed correctly and pressed down around the notches where I had just colored. It was like a reverse stamp effect.

The marker left me a perfect print of where exactly I needed to cut for the notches. It's a little faint in the picture below, but if you look closely you'll see the purple markings. This method helped me cut perfect notches.

I was in such a hurry to replace the hardware that I accidentally punched the screw against the paper instead of with it so the paper tore near the hole on the surface. The ideal would have been to make the initial hole through the front for a clean puncture. Alls well though since I was able to fix it.

There was no need to cover the inside completely.


Finally, an organized station for our phones. Business cards and a couple of book-markers go in the little drawer and my glasses go in the miscellaneous spot below the phones. It's amazing how much sanity can be achieved with such a small amount of organization. What's your system for organizing your electronics? Would love to hear about it. Thanks for stopping by!
-Debora
No comments:
Post a Comment